How to Cook Farro: Whole, Semi-Pearled, and Pearled
Learn how to cook all three types of farro to perfect chewy tenderness — plus soaking tips, flavor ideas, and the best uses for each variety.
Farro is one of the oldest cultivated grains on earth and one of the most satisfying to eat. It has a chewy, almost meaty texture and a warm, nutty flavor that holds up in salads, soups, risottos, and grain bowls in a way that softer grains simply cannot match.
But farro can also be confusing. Walk into a store and you might find three different types, each with different cooking times. The packaging does not always clearly identify which type you are buying. And the cooking instructions on the bag are frequently wrong, either producing undercooked, crunchy grains or overcooked mush.
This guide will clear all of that up. By the end, you will know exactly which type of farro you have, how to cook it perfectly, and how to use it in a dozen different ways.
For a broader overview of cooking techniques for all ancient grains, see our complete cooking guide.
The Three Types of Farro
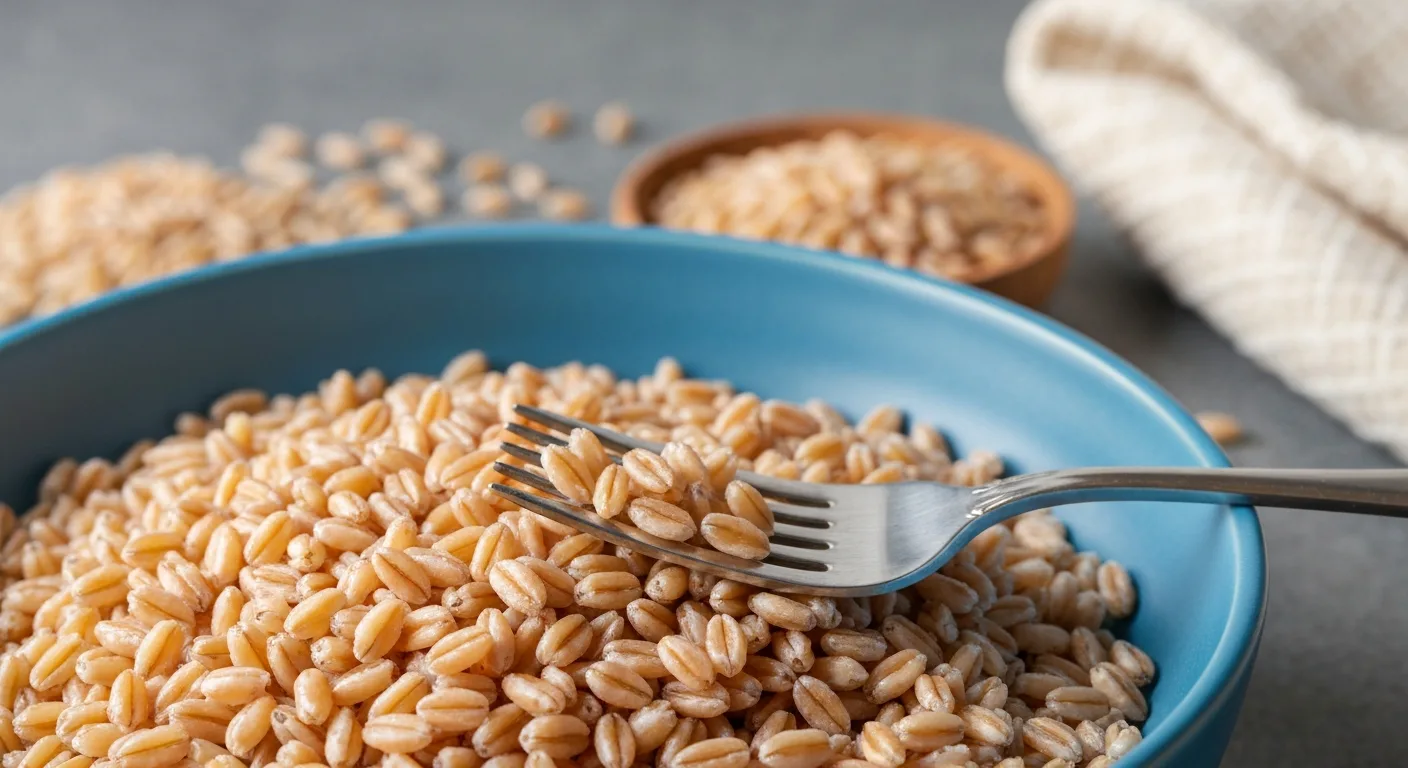
Farro is not just one grain. The term “farro” is an Italian word that actually refers to three different wheat species, but in modern culinary usage, it most commonly refers to emmer wheat (Triticum dicoccum). What really matters for cooking purposes is the processing level:
Whole Farro (Farro Integrale)
This is farro with the bran and germ completely intact, the most nutritious form. The bran layer gives it a darker color and chewier texture. Whole farro takes the longest to cook (30 to 40 minutes with soaking, up to 60 minutes without) but delivers the most fiber, B vitamins, and minerals.
Best for: Hearty grain bowls, soups where you want grains that hold their shape for hours, and anywhere you want maximum chew and nutrition.
Semi-Pearled Farro (Farro Semi-Perlato)
Part of the bran has been removed through polishing, but some remains. This is the most commonly sold type in American grocery stores and represents the sweet spot between nutrition and convenience. It cooks in 20 to 25 minutes without soaking.
Best for: Everyday cooking, salads, risotto-style preparations, and any recipe where you want good texture without the commitment of whole farro.
Pearled Farro (Farro Perlato)
All of the bran has been removed. Pearled farro cooks the fastest (15 to 20 minutes) and has the softest texture. It also has the least fiber and nutrients. The texture is still chewier than rice but noticeably softer than the other two types.
Best for: Quick weeknight meals, creamy risotto-style dishes, and recipes where a softer texture is desirable.
How to Tell Which Type You Have
If the package does not specify, look at the grains themselves:
- Whole: Darker brown with visible bran coating, rough texture
- Semi-pearled: Medium brown with some smooth spots and some rough areas
- Pearled: Light tan, smooth and uniform, similar in appearance to pearled barley
If the cooking time on the package says 10 to 15 minutes, it is pearled. If it says 25 to 30 minutes, it is semi-pearled. If it says 30 minutes or more (or mentions soaking), it is whole.
For more on farro’s nutritional profile and history, visit our farro overview page.
Should You Soak Farro?
This depends entirely on which type you have.
Whole farro: Soaking overnight (8 to 12 hours) is strongly recommended. It reduces cooking time from 50 to 60 minutes down to 30 to 40 minutes and produces a more evenly cooked grain. Without soaking, the exterior can become mushy before the interior is fully tender.
Semi-pearled farro: Soaking is not necessary but can be helpful. A 30-minute soak will shave about 5 minutes off the cooking time and slightly improve texture uniformity. I do not usually bother unless I have thought ahead.
Pearled farro: Do not soak. It already cooks quickly, and soaking may make it too soft.
To soak, place farro in a bowl and cover with at least 2 inches of cold water. Leave at room temperature for the designated time, then drain and rinse before cooking.
Method 1: Stovetop Absorption
The absorption method uses a measured amount of water that the farro absorbs during cooking, similar to cooking rice.
Whole Farro (Absorption)
- 1 cup farro (soaked and drained)
- 3 cups water or broth
- 0.5 teaspoon salt
Bring liquid to a boil, add farro and salt, reduce to a low simmer, cover, and cook 30 to 40 minutes. Check at 30 minutes — the grain should be tender with a pleasant chew. If water remains, drain it. Rest 5 minutes with the lid on.
Semi-Pearled Farro (Absorption)
- 1 cup farro
- 2.5 cups water or broth
- 0.5 teaspoon salt
Bring liquid to a boil, add farro and salt, reduce to a low simmer, cover, and cook 20 to 25 minutes. The farro is done when it is tender but still has a firm center — you should be able to bite through it without it being crunchy, but it should not be mushy.
Pearled Farro (Absorption)
- 1 cup farro
- 2 cups water or broth
- 0.5 teaspoon salt
Bring liquid to a boil, add farro and salt, reduce to a low simmer, cover, and cook 15 to 20 minutes.
Method 2: The Pasta Method (Recommended for Beginners)
If you are cooking farro for the first time, use this method. It is practically foolproof because you do not need to worry about water ratios at all.
- Bring a large pot of well-salted water to a rolling boil — at least 6 cups of water per cup of farro. Salt it like you would pasta water: it should taste noticeably salty.
- Add the farro and stir.
- Boil uncovered, stirring occasionally, just as you would cook pasta.
- Start tasting the farro 5 minutes before the expected cook time. It is done when it is tender with a pleasant chew — chewy but not crunchy.
- Drain in a colander.
Cooking times with the pasta method:
- Whole farro (soaked): 25 to 35 minutes
- Whole farro (unsoaked): 40 to 50 minutes
- Semi-pearled: 15 to 20 minutes
- Pearled: 10 to 15 minutes
The pasta method is more forgiving because you taste as you go and drain when the texture is right. The only minor downside is that you lose some water-soluble B vitamins, but the texture control more than compensates.
Method 3: Instant Pot / Pressure Cooker
The pressure cooker excels with farro, especially whole farro, cutting cook times dramatically.
Whole farro (no soak needed):
- 1 cup farro, 2.5 cups water, pinch of salt
- High pressure for 20 minutes
- Natural release for 10 minutes, then quick release
Semi-pearled farro:
- 1 cup farro, 2 cups water, pinch of salt
- High pressure for 10 minutes
- Quick release
Pearled farro:
- 1 cup farro, 1.75 cups water, pinch of salt
- High pressure for 6 minutes
- Quick release
One of the great advantages of the Instant Pot for farro is that you can skip the overnight soak for whole farro entirely. The pressure cooker forces water through the bran layer efficiently.
Method 4: Farrotto (Risotto-Style)
Farrotto is farro cooked using the same technique as risotto — gradual addition of warm broth with constant stirring. The result is creamy and rich, with the farro releasing starch to create a thick sauce while maintaining its characteristic chew. Semi-pearled farro works best for farrotto because it releases enough starch to become creamy without taking as long as whole farro.
- Heat 4 to 5 cups of broth in a saucepan and keep it warm over low heat.
- In a separate heavy-bottomed pot or Dutch oven, heat 2 tablespoons olive oil or butter over medium heat.
- Add 1 diced shallot or small onion. Cook until translucent, about 3 minutes.
- Add 1.5 cups semi-pearled farro. Stir to coat in the oil and toast for 1 to 2 minutes.
- Add 0.5 cup dry white wine (optional). Stir until absorbed.
- Begin adding warm broth one ladle (about 0.5 cup) at a time, stirring frequently. Wait until each addition is mostly absorbed before adding the next.
- Continue for 20 to 25 minutes, adding broth and stirring. The farro is done when it is tender but chewy and surrounded by a creamy, saucy liquid.
- Remove from heat and stir in 2 tablespoons butter and 0.5 cup grated Parmesan cheese. Season with salt and pepper.
Farrotto variations:
- Mushroom farrotto: Sauté sliced mushrooms before adding the farro. Use mushroom broth.
- Spring vegetable farrotto: Stir in blanched asparagus, peas, and fresh herbs at the end.
- Butternut squash farrotto: Add roasted butternut squash cubes and sage.
Farro in Salads
Farro is arguably the best grain for salads. Its chewy texture holds up to dressing without becoming soggy, and its nutty flavor pairs well with both Mediterranean and American flavor profiles.
The key to great farro salad is cooking the farro until it is just tender (do not overcook — you want more chew for salads than for hot dishes) and dressing it while still warm. Warm grains absorb dressing more effectively.
Classic farro salad formula:
- 2 cups cooked farro (warm or room temperature)
- 1 cup chopped vegetables (cucumber, tomato, bell pepper, roasted beets)
- 0.5 cup crumbled or cubed cheese (feta, goat cheese, shaved Parmesan)
- 0.25 cup toasted nuts or seeds (walnuts, pine nuts, pepitas)
- Fresh herbs (basil, mint, parsley, dill)
- Vinaigrette: 3 tablespoons olive oil, 1 tablespoon red wine vinegar or lemon juice, salt, pepper
Toss everything together and let sit for at least 15 minutes before serving. Farro salad keeps well in the refrigerator for 3 to 4 days. The grains hold their texture better than any other grain I have worked with.
Farro in Soups
Farro is a traditional addition to Italian soups, particularly in Tuscany. It adds body, protein, and a satisfying chewiness. Add farro directly to simmering soup about 25 minutes before you plan to serve (for semi-pearled) or 40 minutes before (for whole). The farro will absorb some of the soup liquid and expand, so you may need to add extra broth.
Be aware that farro continues to absorb liquid as it sits, so soup made with farro will thicken considerably as leftovers. Add water or broth when reheating.
Storing Cooked Farro
Refrigerator: Cooked farro keeps 4 to 5 days in an airtight container. It firms up when cold, which is actually desirable for salad applications.
Freezer: Freeze in measured portions (1 to 2 cups) in freezer bags with air pressed out. Keeps 4 to 6 months. Thaw in the refrigerator overnight or microwave from frozen with a splash of water.
Reheating: Add a tablespoon of water per cup, cover, and microwave for 1 to 2 minutes, or warm in a covered saucepan over medium-low heat.
Common Farro Mistakes
Not knowing which type you have. Cooking pearled farro for 40 minutes produces unpleasant mush. Cooking whole farro for 15 minutes produces inedible pebbles. Identify your farro type before you start.
Skipping the soak for whole farro. You can get away with it if you use the pasta method and are patient, but the texture will be more uneven.
Overcooking. Farro should always have some chew. If it is soft all the way through with no resistance, it is overdone. This matters most for salads and grain bowls — slightly overcooked farro is fine in soups where it will continue to soften.
Under-salting the cooking water. Farro benefits from well-salted cooking water, especially with the pasta method. Taste the water — it should taste like mild ocean water.
Adding acid too early. Acidic ingredients (tomatoes, vinegar, lemon juice) toughen the bran layer and can significantly increase cooking time. Always add acidic ingredients after the farro is fully cooked.
Quick Reference
| Type | Soak? | Water Ratio | Stovetop Time | Pasta Method | Instant Pot |
|---|---|---|---|---|---|
| Whole | Yes (8-12 hrs) | 1:3 | 30-40 min | 25-35 min | 20 min HP |
| Semi-Pearled | Optional | 1:2.5 | 20-25 min | 15-20 min | 10 min HP |
| Pearled | No | 1:2 | 15-20 min | 10-15 min | 6 min HP |
One cup of dry farro yields approximately 2.5 to 3 cups cooked, depending on the type and method.
Farro rewards patience and attention. Take the time to identify your type, cook it to the right texture, and pair it with bold flavors. Once it clicks, you will understand why Italian cooks have relied on this grain for thousands of years.
For recipe inspiration featuring farro, explore our ancient grains recipe collection. And for a side-by-side comparison with other grains, check the master cooking table in our complete cooking guide.
Last updated March 12, 2026